Signing with NOM 151
The NOM 151 feature can be used through both the Dropbox Sign website and with several API endpoints. Once you have enabled the feature (please see our Setup section for more information), the option will be available in the Dropbox Sign Website workflow and the parameter will be active for API users. Please see the steps below on how to sign with NOM 151 enabled.
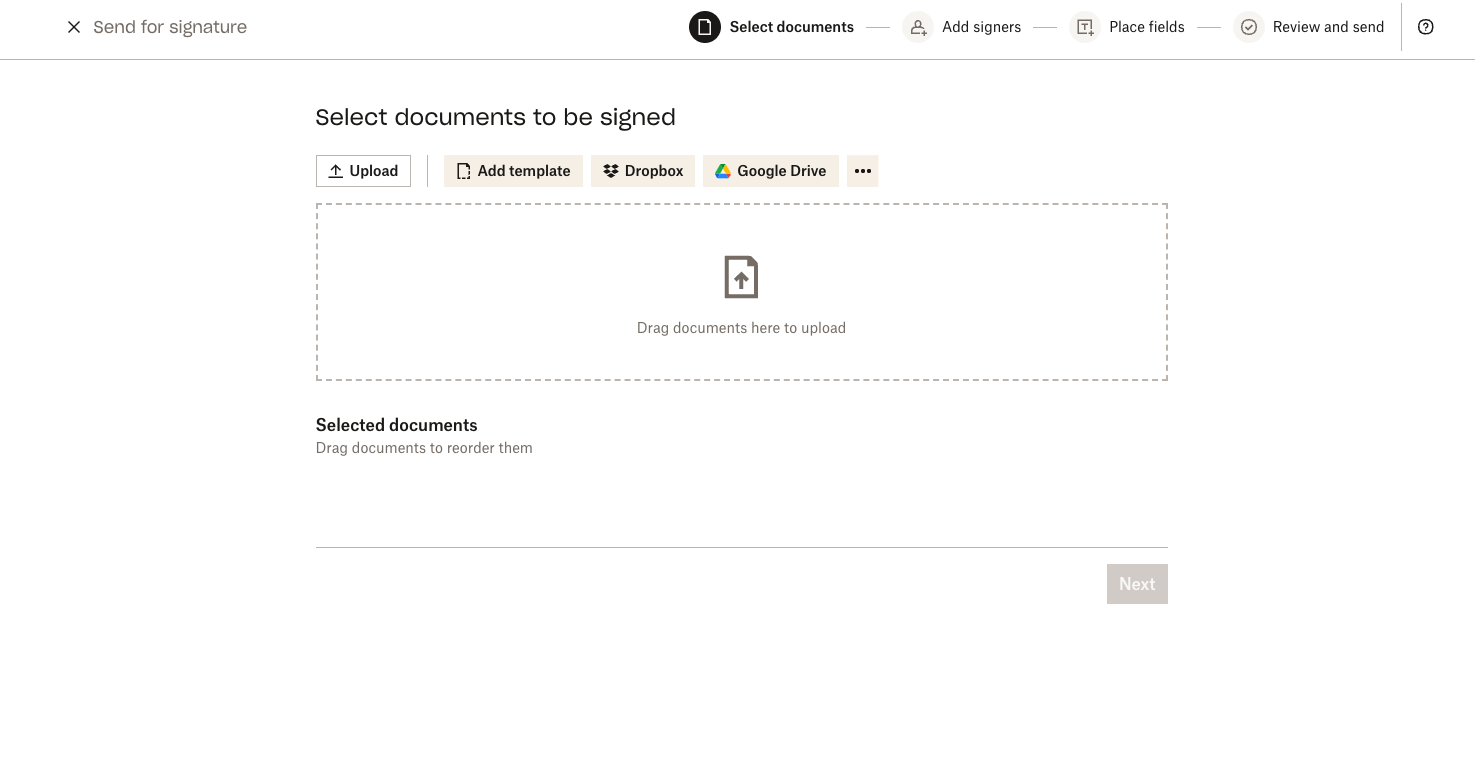
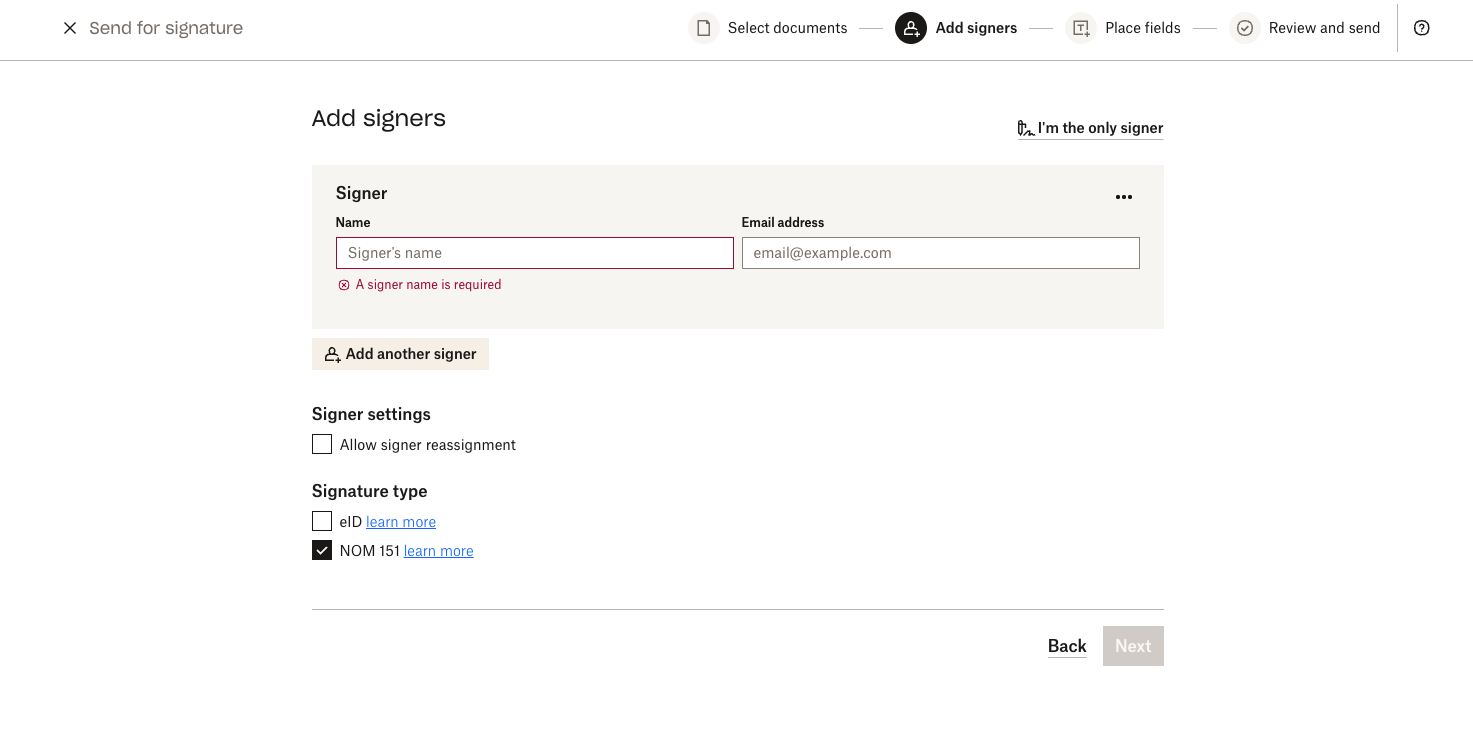
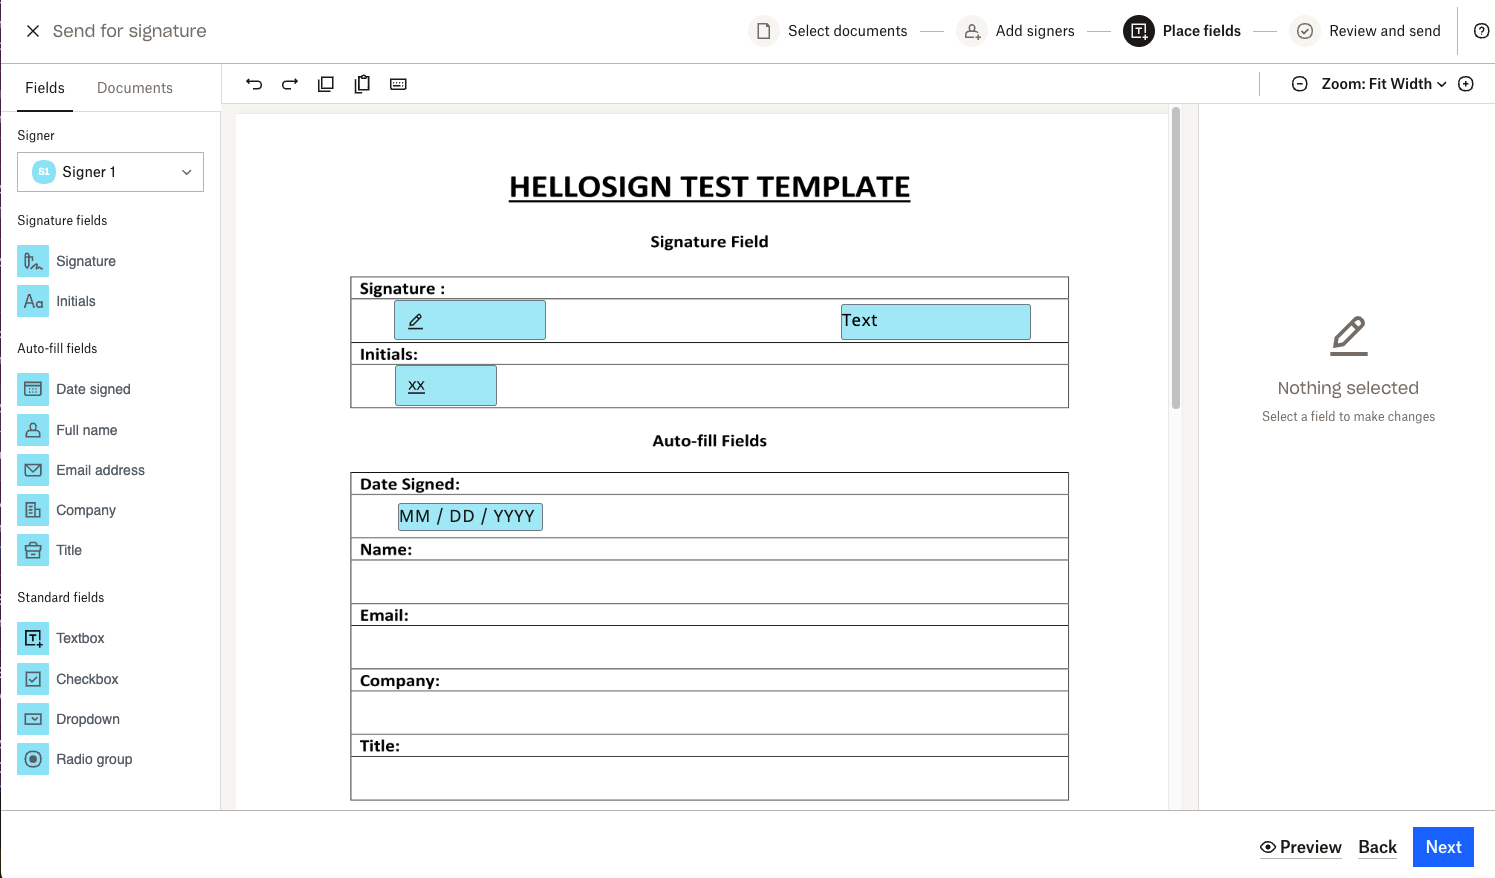
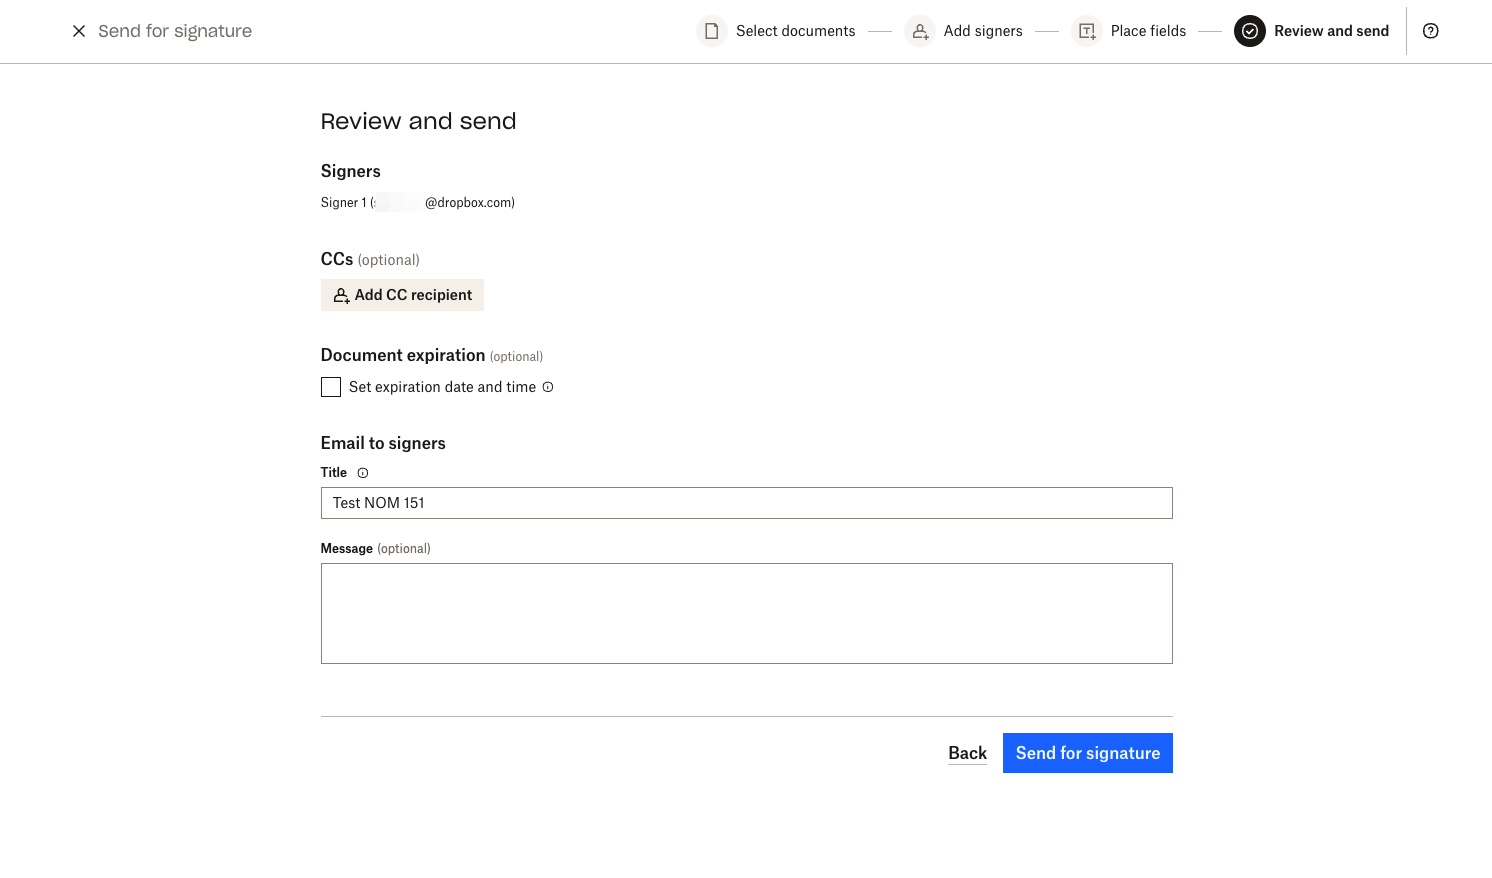
Dropbox Sign Website
API
Supported API endpoints
- /v3/signature_request/send
- /v3/signature_request/send_with_template
- /v3/unclaimed_draft/create_embedded
- /v3/unclaimed_draft/create_embedded_with_template
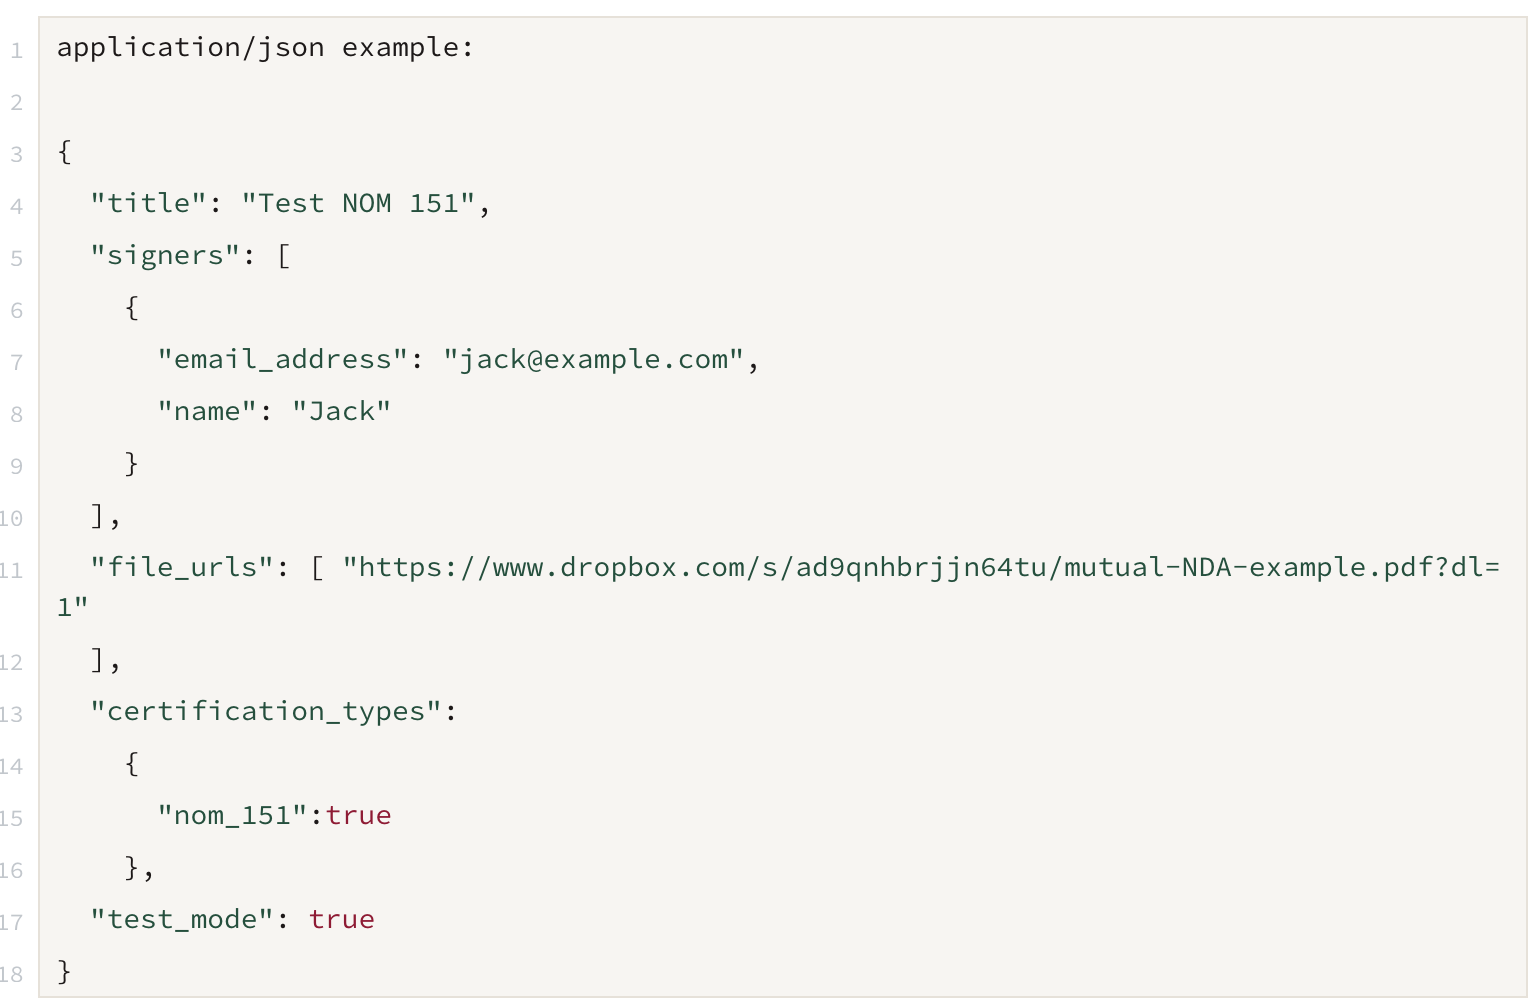
Non-embedded Workflows


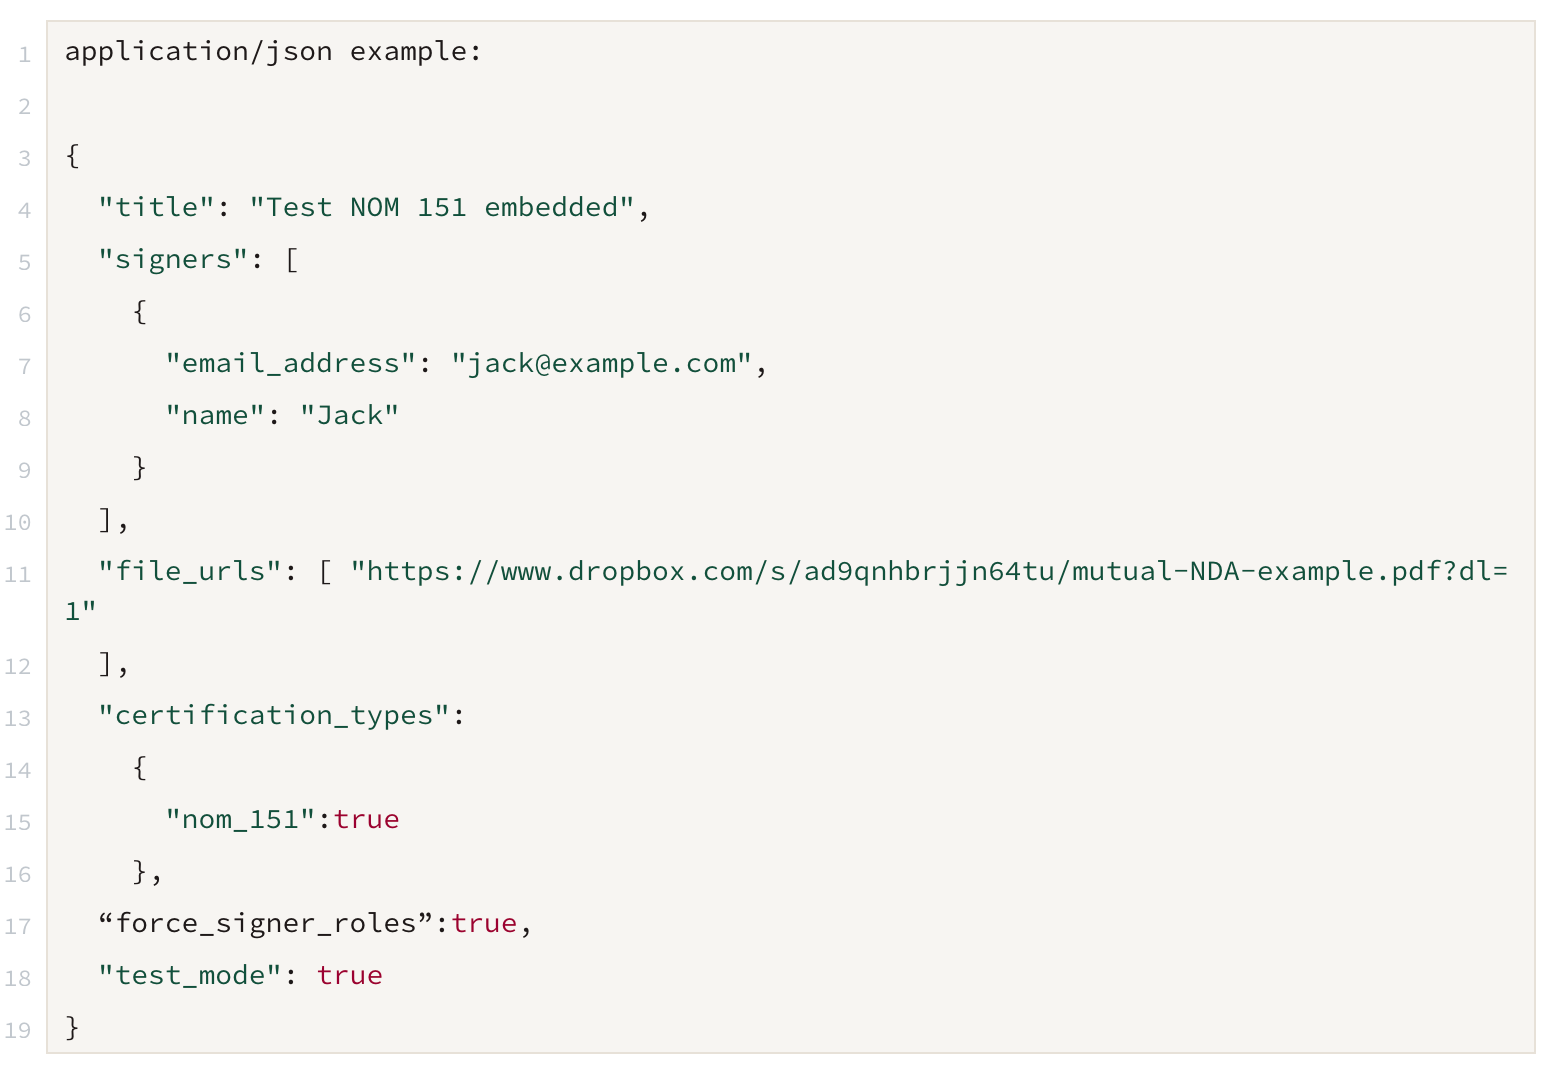
Embedded Requesting Workflows


FAQ
Can NOM 151 be used with eID?
Yes, both eID and NOM 151 can be used for the same signature request. First eID verification will be completed and then the signature request will be sent for NOM 151 certification.
How long does the NOM 151 certification process take?
The NOM 151 process can vary on how long it takes to process. The process to generate a certificate will not start until all signers have completed signing their portion of the document.
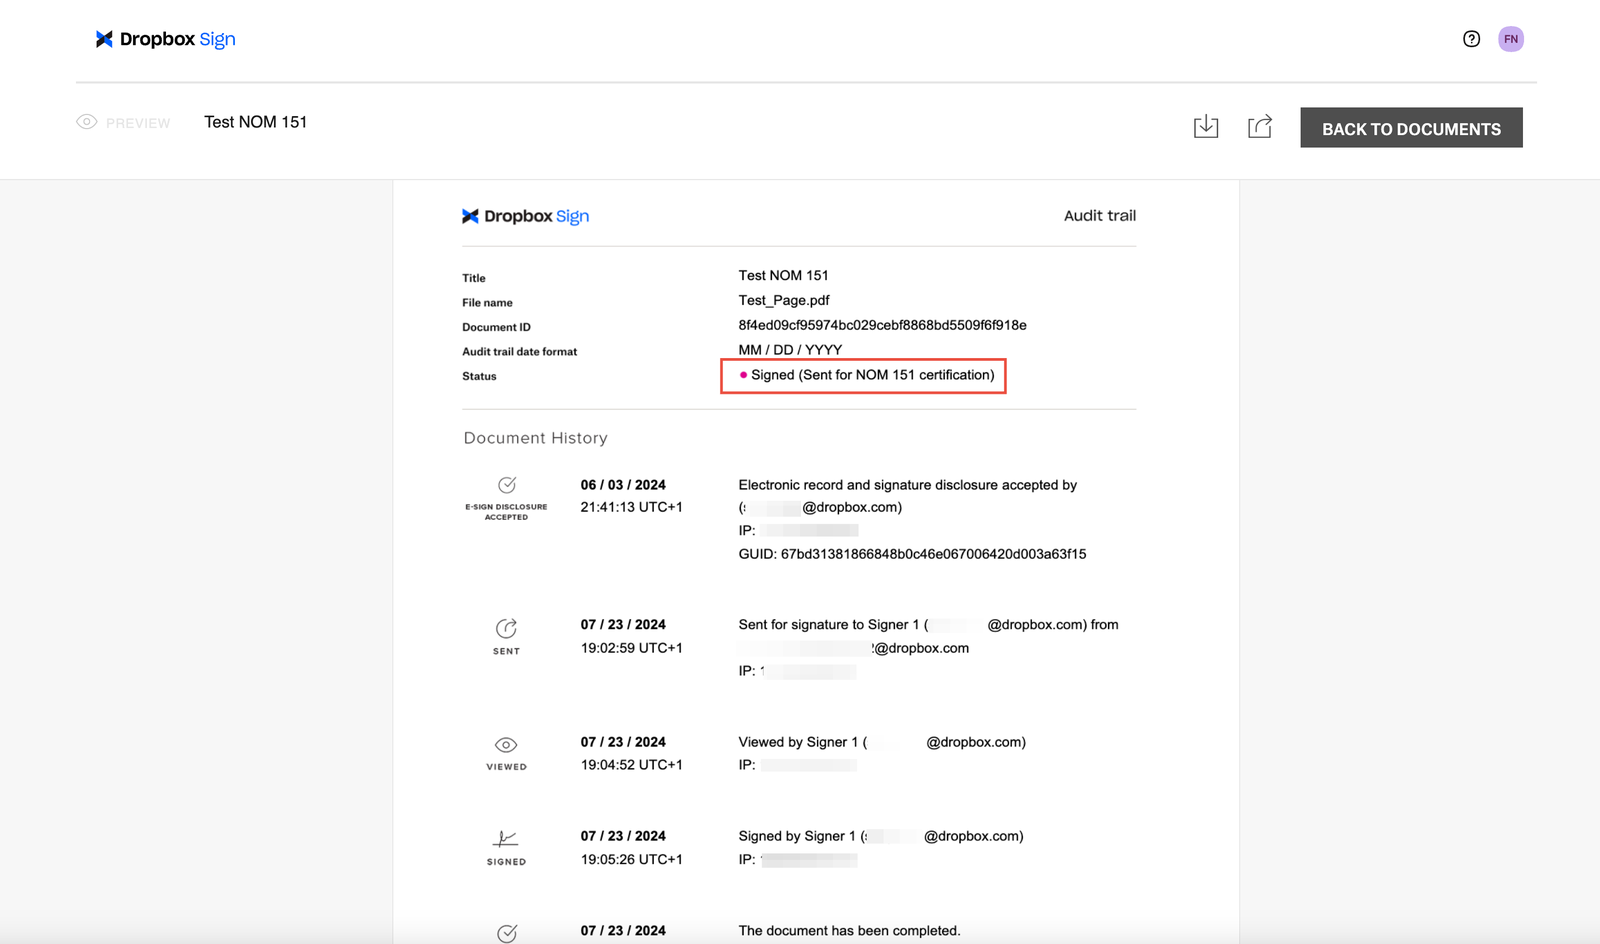
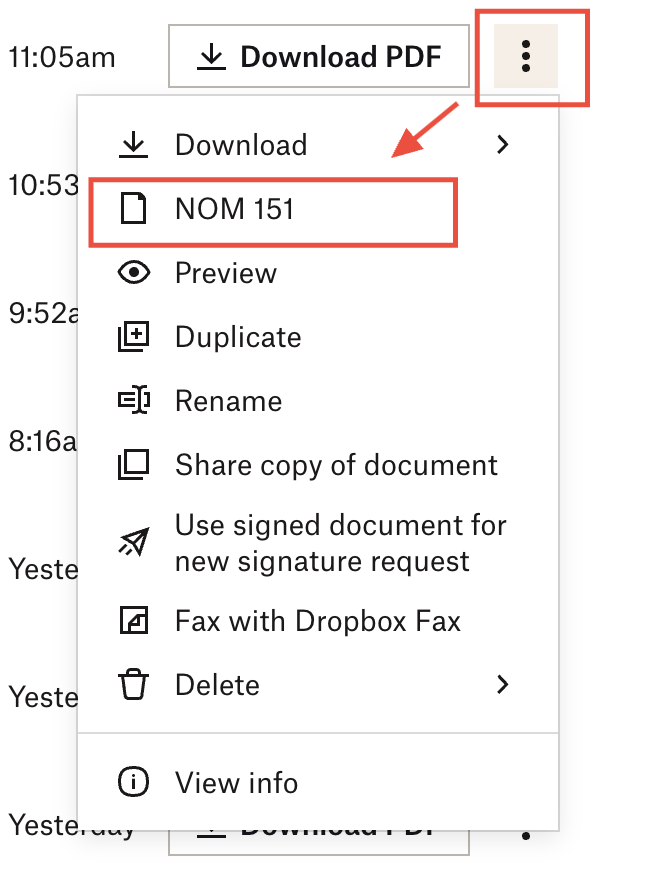
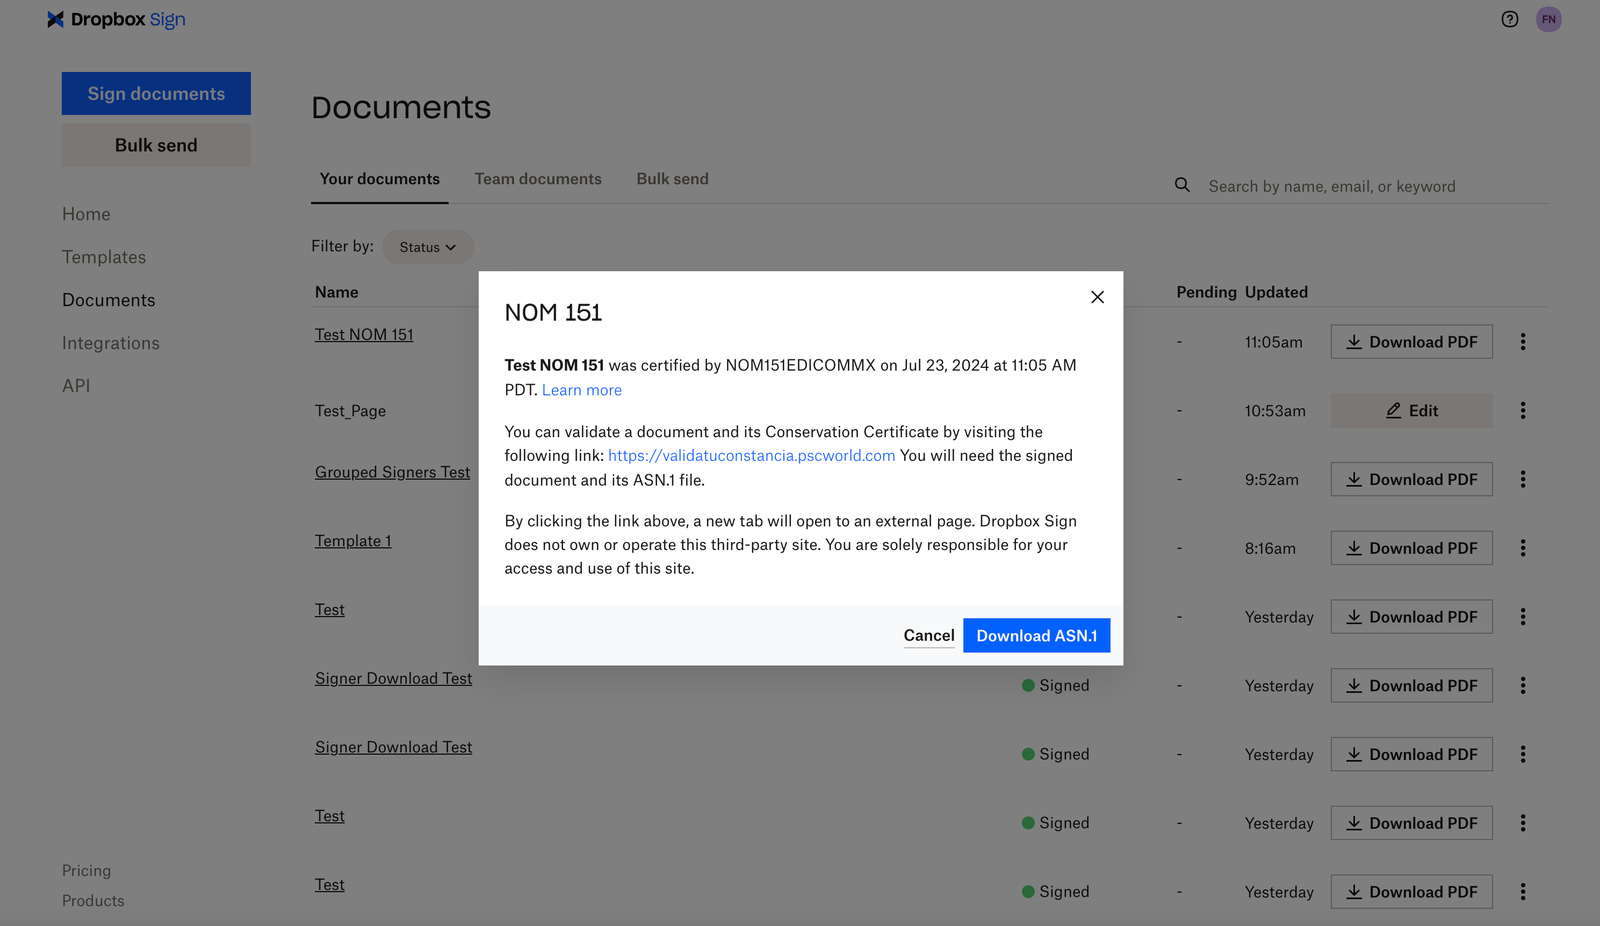
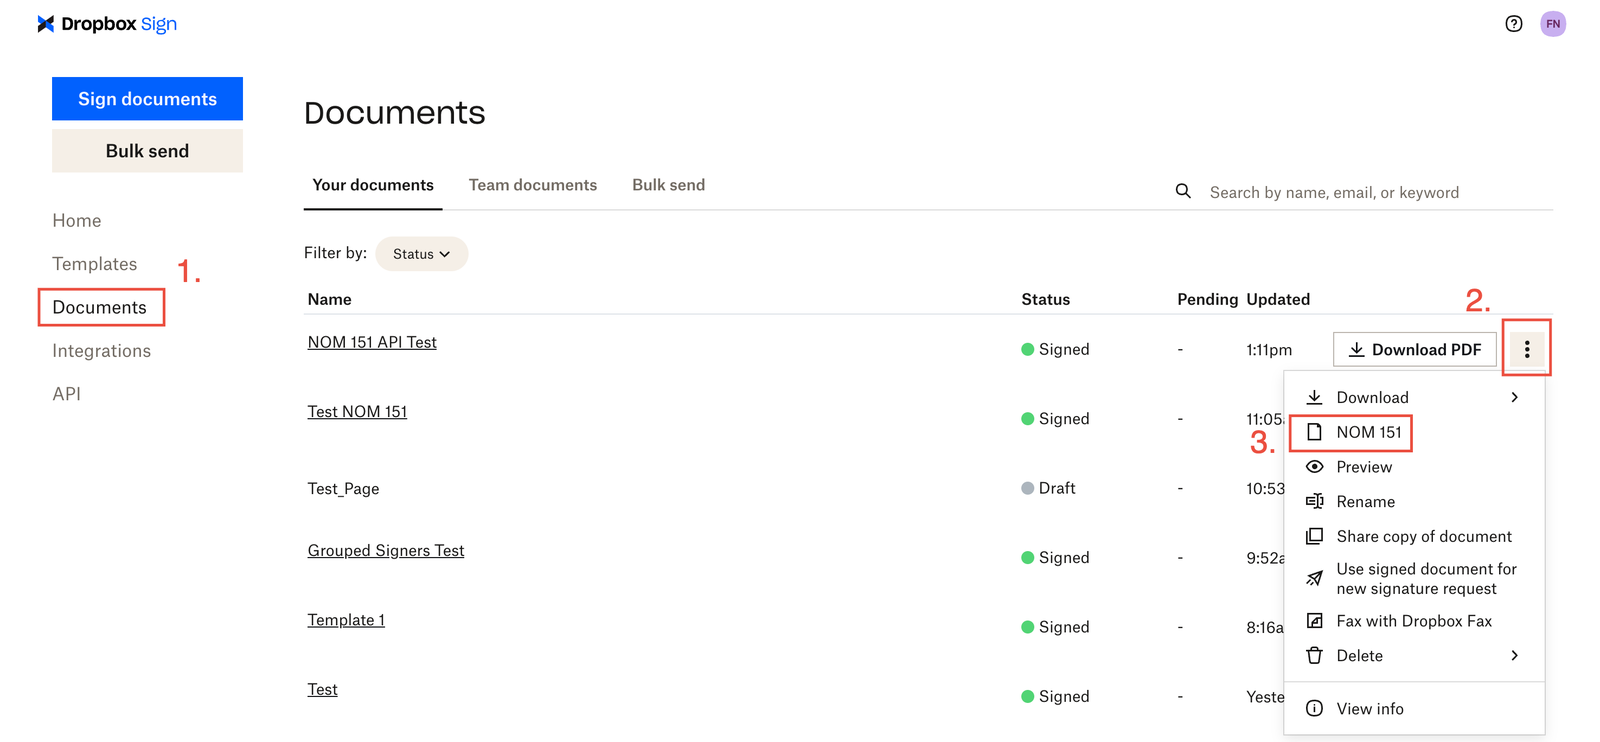
In most cases, the certificate takes a few moments to be generated. Once completed, the “NOM 151” option will appear in the options dropdown for the signature request on the “Documents” tab of your account. Select this option to verify and download the certificate.
If the document does not have the option to view the certificate after 24 hours, please open a request with our Sign API support team and provide the signature request ID for further troubleshooting.